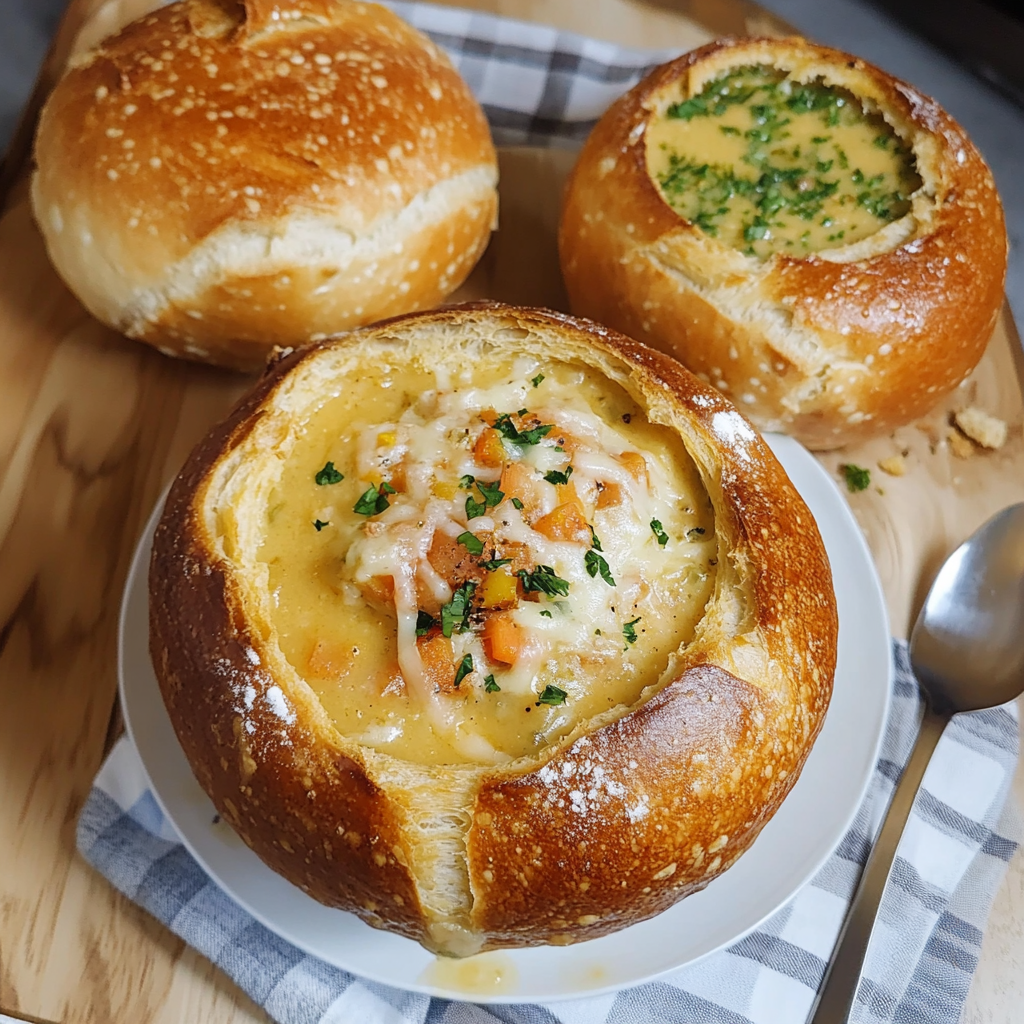
Hey there! Have you ever thought about how amazing it is to enjoy your favorite soup served right in a delicious homemade bread bowl? I mean, who can resist tearing into that soft, warm bread after finishing every last drop of soup? Making bread bowls at home might sound tricky, but trust me, it’s easier than you think! I love whipping these up, especially when I’m expecting friends or family over. It’s a fun touch that makes any meal feel special!
Nutritional Benefits of Bread Bowls
Using homemade bread bowls comes with a few surprising benefits! First off, you control the ingredients, so you can choose whole grains or add seeds for added nutrition. Plus, serving your soup in a bread bowl means you’re reducing the need for extra bowls. Not only does this make cleanup easier, but you also get a fantastic portion of carbs to go along with your meal. It’s like a two-in-one treat!
Fun Variations to Make
- Herb-Infused Bread Bowls: Add fresh herbs like rosemary or thyme right into the dough to give your bread a fragrant kick.
- For Whole Wheat Lovers: Swap out half of the all-purpose flour for whole wheat flour for a heartier version with additional fiber.
- Cheese-Enhanced Bowls: Mix some shredded cheese into the dough for cheesy bread bowls that pair wonderfully with creamy soups!
Easy Homemade Bread Bowl Recipe
Ingredients
- 2 cups warm water (about 110°F or 43°C)
- 1 tablespoon sugar
- 2 teaspoons active dry yeast
- 5 cups all-purpose flour
- 2 teaspoons salt
- 1 tablespoon olive oil (optional, for a richer flavor)
Instructions
- In a large bowl, mix the warm water, sugar, and yeast. Let it sit for about 5 minutes until it’s bubbly and frothy.
- Add the salt and olive oil (if using) to the yeast mixture.
- Gradually add flour, one cup at a time, mixing until a soft dough forms.
- Knead the dough on a floured surface for about 5-7 minutes until it’s smooth and elastic.
- Place the dough in a greased bowl, cover it with a towel, and let it rise in a warm place for about 1 hour until it doubles in size.
- Preheat your oven to 375°F (190°C) during the last few minutes of rising.
- Punch down the dough and divide it into 4 equal pieces. Roll each piece into a ball and then flatten it slightly into a disc.
- Place the dough discs on a baking sheet lined with parchment paper, and cover them with a towel for 30 minutes to rise again.
- Bake in the oven for 20-25 minutes or until golden brown. Let them cool for 10 minutes before hollowing them out and filling them with your favorite soup!
Valuable Tips
- To get that perfect crust, place a small oven-safe dish with water on the bottom rack of your oven while baking the bread bowls. The steam helps create that crispy exterior!
- Store any leftover bread bowls in a sealed bag or container at room temperature for up to two days or in the freezer for longer. Just thaw in the fridge before using.
- When hollowing out the bread bowls, save the removed bread for croutons or to eat with the soup!
Equipment Needed
Here’s a little list of tools that will help you along the way:
- A large mixing bowl
- A measuring cup and spoons
- A spatula for mixing
- A baking sheet lined with parchment paper
- A sharp knife to hollow out the bread
Frequently Asked Questions
- Can I use instant yeast instead of active dry yeast? Yes, you can use instant yeast! Just add it directly to the flour without proofing.
- How do I store leftover bread bowls? Keep them in an airtight container at room temperature or frozen if you want to save them for later.
- What soups work best in bread bowls? Creamy soups like clam chowder, broccoli cheese, or tomato bisque are fantastic, but feel free to get creative!
- Can I add seasonings to the dough? Definitely! Italian herbs or garlic powder can add wonderful flavors to the bread.
- How do I know when the bread bowl is done baking? Look for a golden color and tap the bottom of the bowl; if it sounds hollow, it’s ready!
Did you try making these homemade bread bowls? I can’t wait to hear how they turned out! Share your pictures and experiences with me on Pinterest. Let’s spread the bread bowl love together!