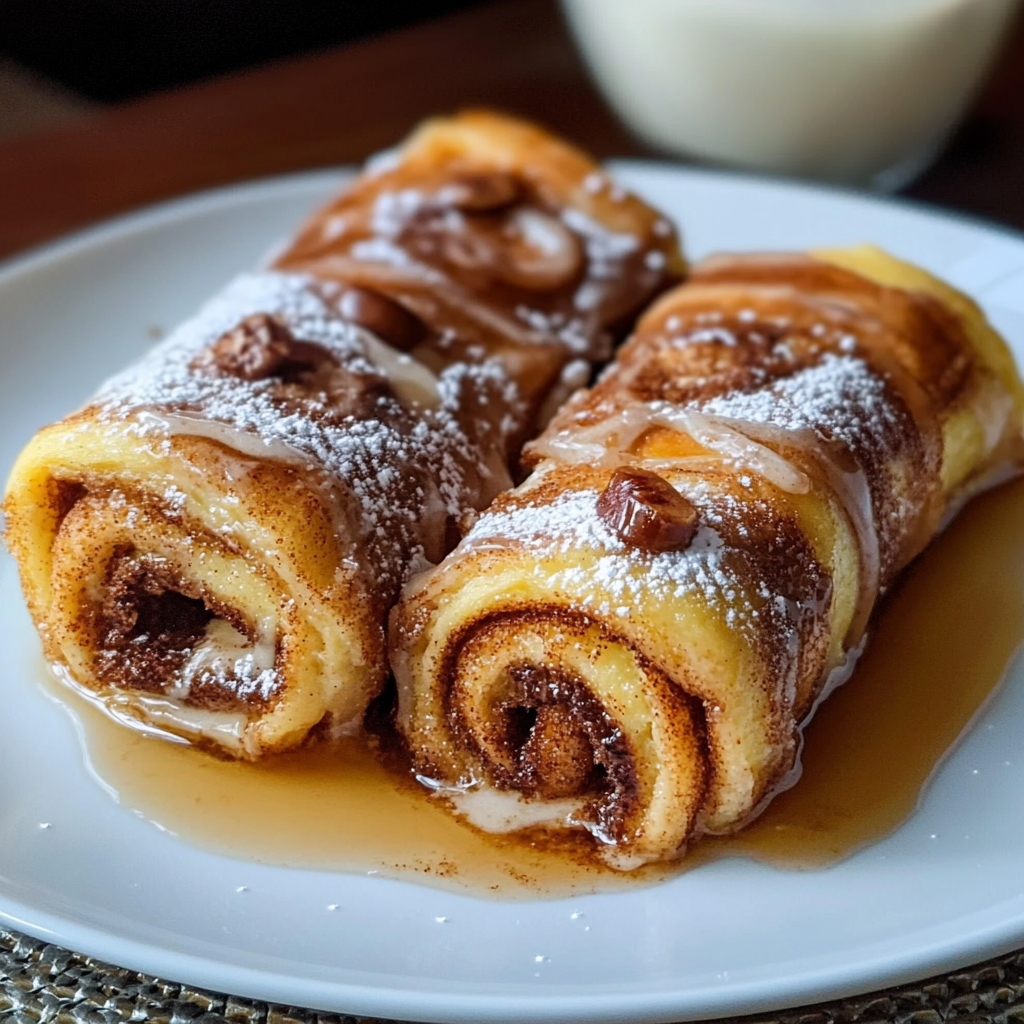
Hey there, breakfast lovers! Are you ready for a treat that perfectly marries your favorite breakfast dish with a delightful twist? I recently discovered the amazing world of Cinnamon Roll French Toast Roll-Ups, and let me tell you, they are simply irresistible! Imagine fluffy bread filled with sweet cinnamon goodness that you can eat with your hands. It’s a fun, hands-on way to enjoy breakfast and show your loved ones you care. I guarantee these roll-ups will be a hit at your breakfast table!
Nutritional Benefits
You might not think of a sweet breakfast treat as healthy, but there are actually some benefits to this one! Using whole wheat bread instead of white can add extra fiber to your roll-ups, which is great for digestion. Plus, if you sneak in some fruit, like banana slices or berries, you’ll get a boost of vitamins! Just remember, moderation is key in any delicious treat.
Adaptable Variations to Make
- Fruit-Filled Delight: Add slices of fresh fruit like bananas or strawberries inside for a fruity surprise!
- Dairy-Free Option: Use almond milk instead of regular milk and a plant-based butter for a dairy-free version.
- Gluten-Free Easy Swap: Swap out regular bread for gluten-free bread, and you can enjoy these amazing roll-ups too!

Decadent Cinnamon Roll French Toast Roll-Ups Recipe
Ingredients
- 6 slices of bread (white or whole wheat)
- 2 tablespoons sugar
- 1 tablespoon ground cinnamon
- 2 large eggs
- 1/2 cup milk
- 2 tablespoons butter (for cooking)
- Maple syrup (for drizzling)
Instructions
- Start by removing the crusts from the bread slices. Don’t worry, we won’t be wasteful; you can save them for bread crumbs!
- With a rolling pin (or a flat-bottomed cup), gently flatten each slice of bread to make it pliable.
- In a small bowl, mix the sugar and ground cinnamon together. Spread 1 tablespoon of this mixture onto each slice of bread.
- Roll each slice tightly, starting from one end, to make mini roll-ups.
- In another bowl, whisk together the eggs and milk until well combined.
- Heat a non-stick skillet over medium heat and add a bit of butter to coat the bottom.
- Dip each roll-up into the egg mixture, making sure it’s well-coated, and place them seam-side down in the skillet.
- Cook until golden brown on all sides, about 2-3 minutes per side.
- Once cooked, remove them from the skillet, drizzle with maple syrup, and dig in!
Practical & Valuable Tips
- For a little extra flavor, add a dash of vanilla extract to the egg mixture!
- These roll-ups are best enjoyed fresh, but you can store leftovers in the fridge for up to two days. Just reheat them on a skillet.
- If you’re making these for a crowd, consider keeping them warm in the oven on a low heat while you finish cooking the rest!
Equipment Needed
To whip up these delicious roll-ups, here’s a handy list of what you’ll need:
- A rolling pin (or the bottom of a cup if you don’t have one)
- A mixing bowl for the egg and milk mixture
- A skillet for cooking (non-stick works best)
- A spatula for flipping
- Measuring cups and spoons
Frequently Asked Questions
- Can I prepare these roll-ups the night before? Yes, you can prepare them by rolling them up and storing them in the fridge. Just cook them fresh in the morning!
- Can I use frozen bread? Absolutely! Just thaw it out before rolling and follow the recipe as usual.
- What other fillings can I use? Cream cheese, Nutella, or even peanut butter can make a delicious filling!
- How do I know when they’re cooked perfectly? Look for a golden brown color all around; that’s your cue!
- Are these freezable? Yes, you can freeze them after cooking. Just make sure they are fully cooled and then store in an airtight container. Reheat when ready to eat!
Did these delicious Cinnamon Roll French Toast Roll-Ups make your breakfast dreams come true? I would love to hear how they turned out for you! Share your pictures and tag me on Pinterest so we can connect over our tasty creations. Happy cooking, and enjoy every bite!


